

How To Automatically Upload Photos To Google Drive
Google Drive, the cloud-storage service from Google, has simplified our lives in several means. You can relieve photos or other types of files in it and access them from any device or role of the globe. Saving photos to Google Bulldoze helps in preserving them without using a PC. But how does one save photos to Google Drive from an Android phone? Here we shall tell you how to upload photos to Google Drive from Android phones.

You can upload photos and other files from Android-based phones and tablets to Google Drive in 3 different ways. Out of those three, you will have to manually add together photos to Google Drive in the first 2 ways. The third method helps in motorcar-syncing photos to Drive.
Note: The photos added to Google Drive volition count towards your overall Google Bulldoze storage quota.
Permit'southward bank check the methods.
Method i: Upload Using Google Drive App
One of the easiest ways to upload single or multiple photos, videos, etc., to Google Drive is using the congenital-in upload functionality in the Google Drive app.
Hither'south what you need to do.
Step 1: Install the Google Drive Android app on your telephone in case information technology isn't installed already.
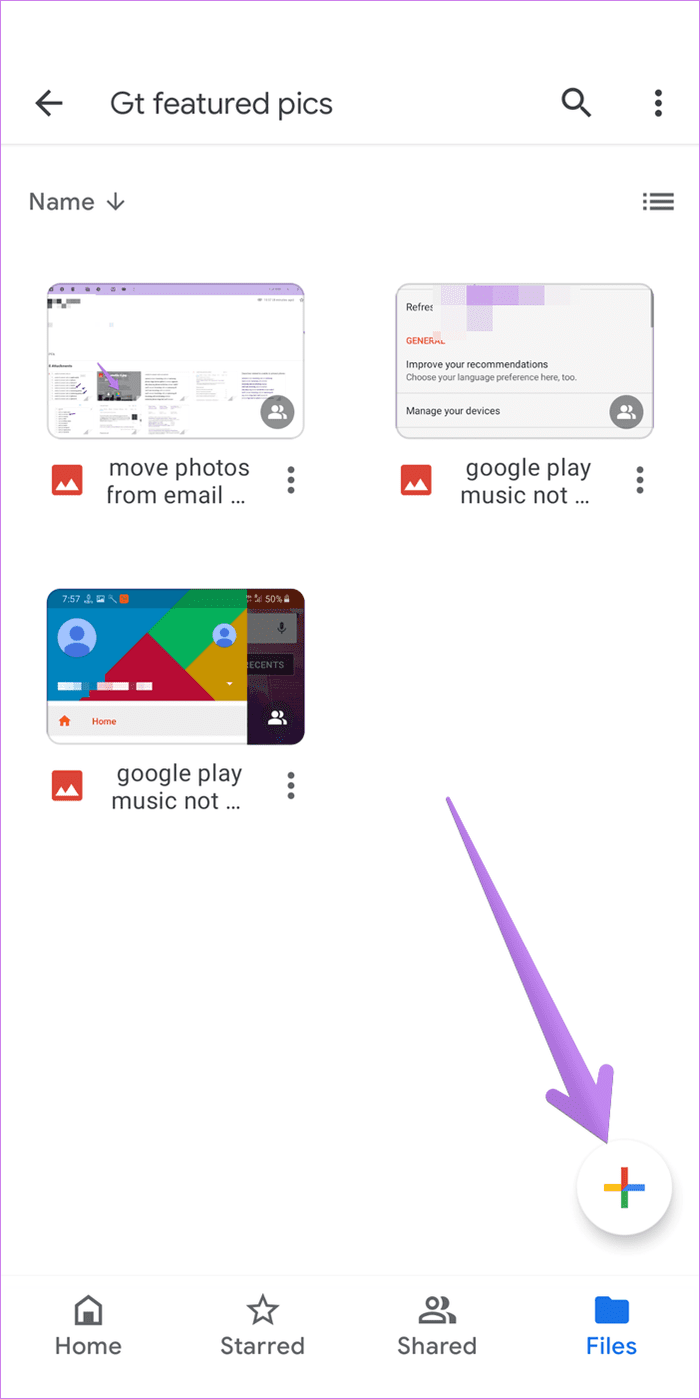
Step ii: Launch the Google Bulldoze app on your phone. Now you tin either upload the photos directly in the root directory or in a detail folder. For the latter, tap on the folder to open up it and then follow the next step.
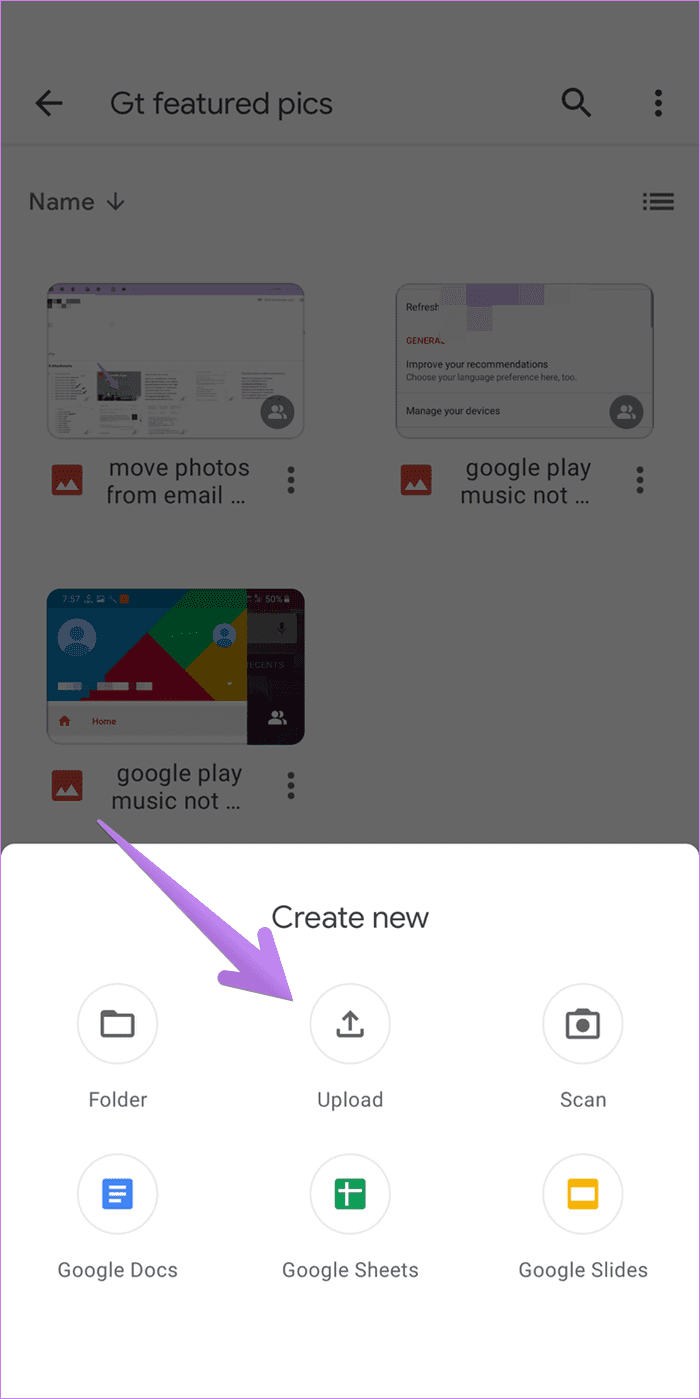
Step 3: Tap on the floating Add icon and hit the Upload button from the pop-up screen.
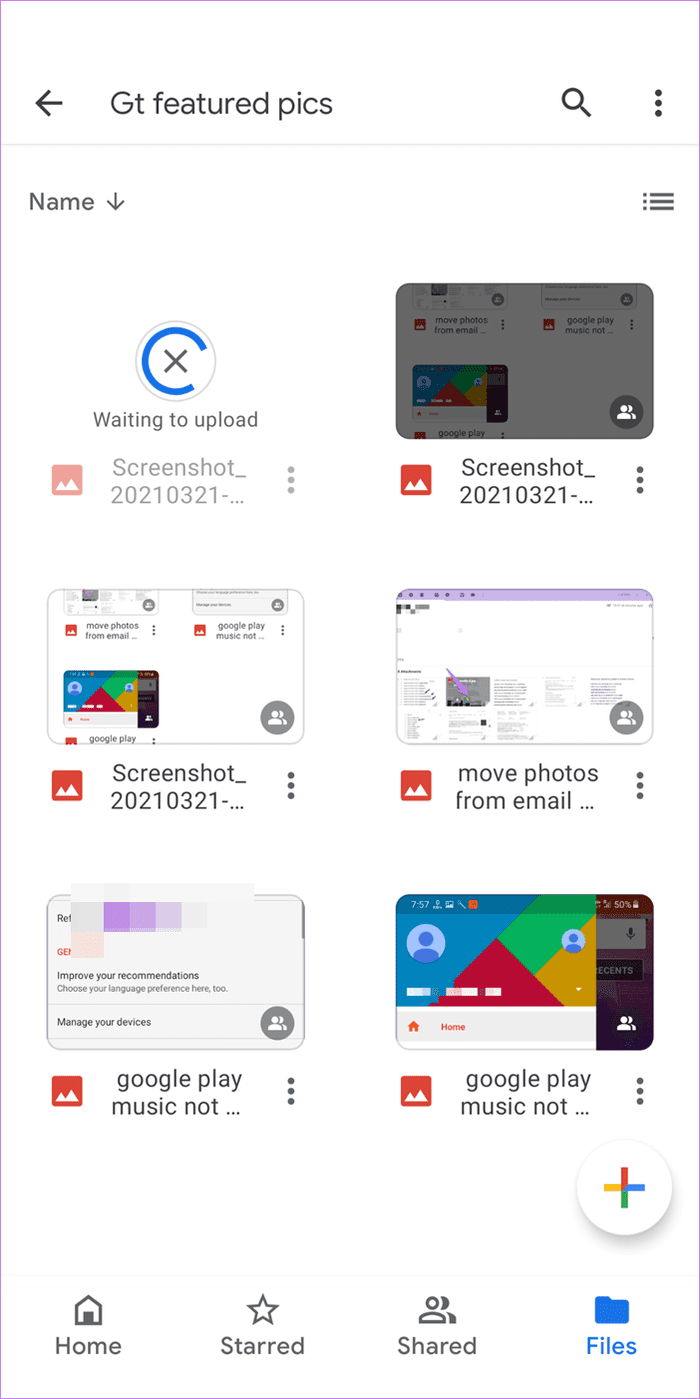
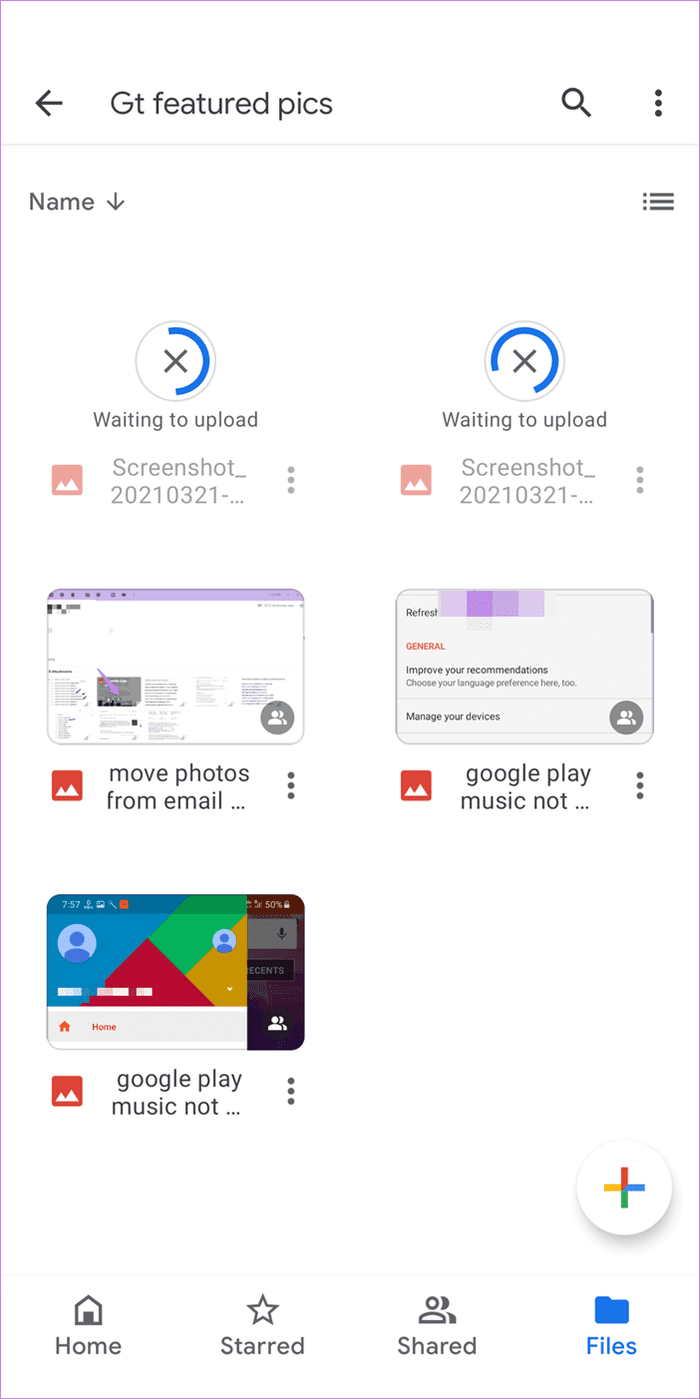
Footstep 4: The File Explorer app will open up. Tap on the photo that yous desire to upload to Google Bulldoze. The photo will be added to Google Drive, and yous will see the status of the photo.

Tip one: Upload Multiple Photos
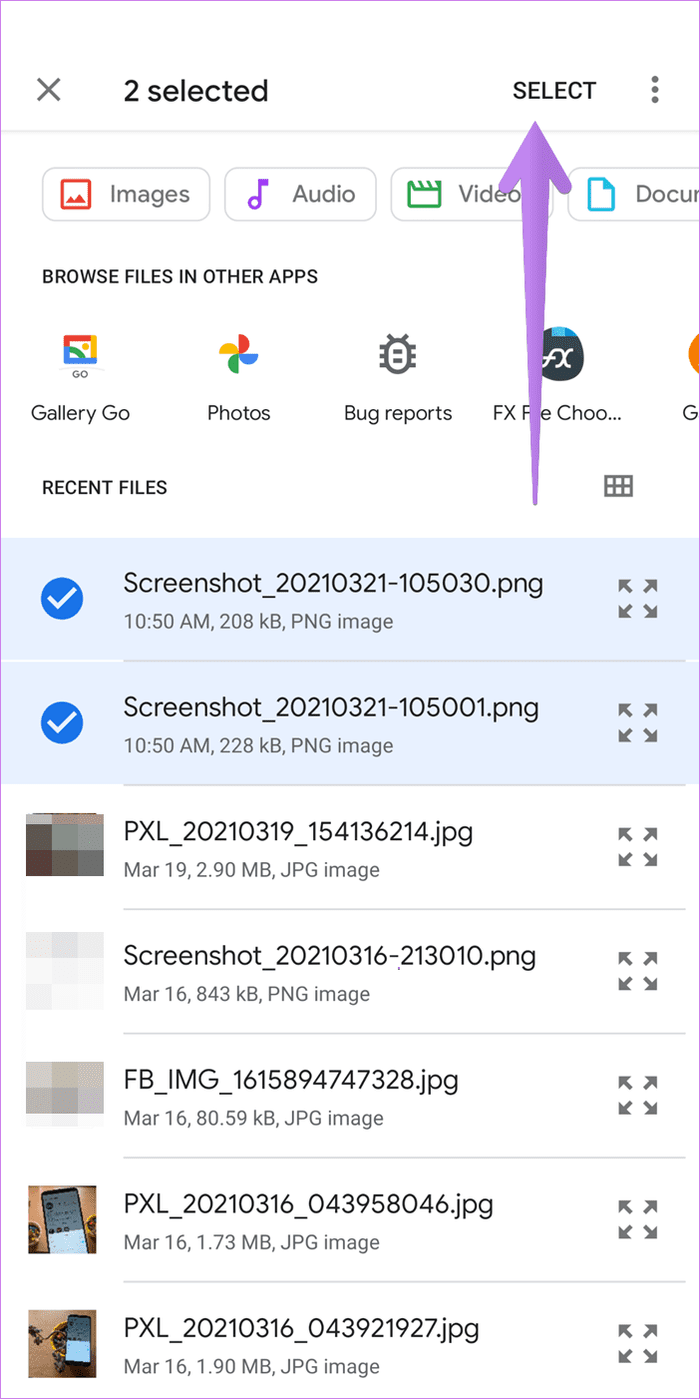
To upload multiple photos, touch and hold whatsoever one of the photos to select it. Then tap on other photos to select them. Finally, tap on the Select option at the summit to upload them to Drive. The app will take you to the Google Drive screen where the file uploads is in progress.
Tip 2: View More Files
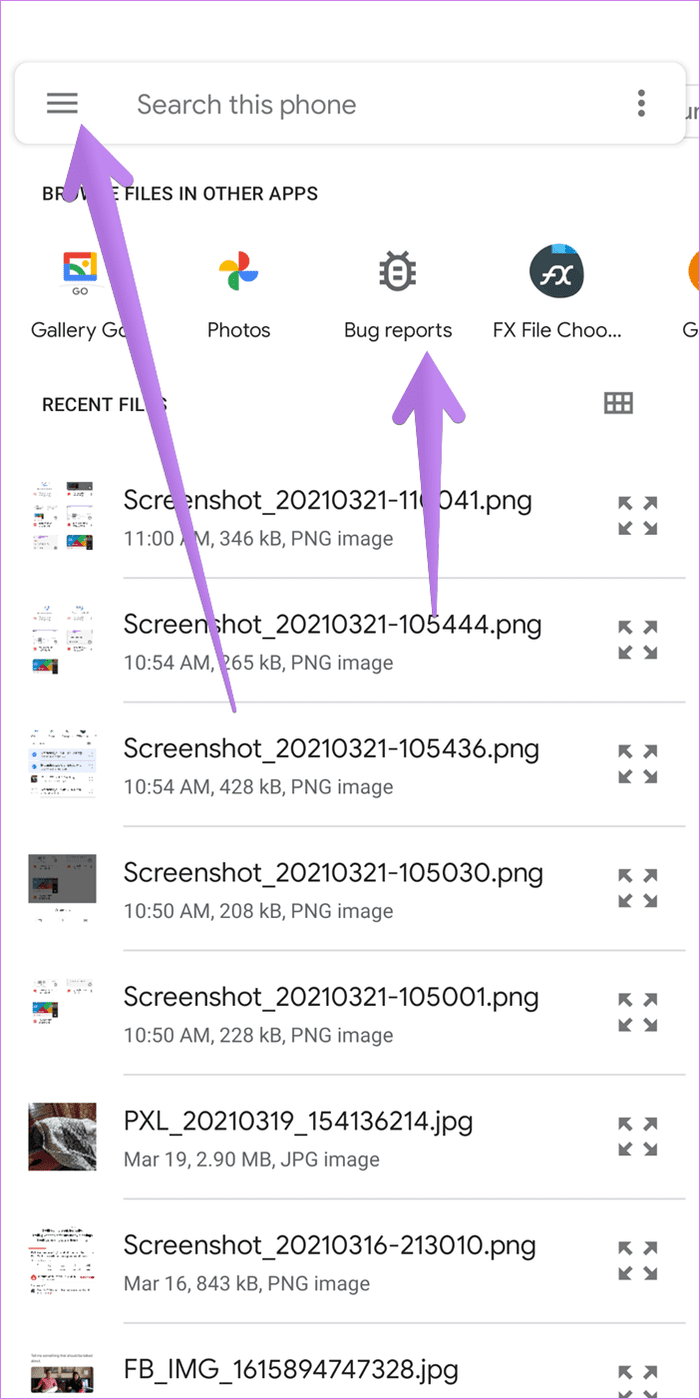
When the File Explorer opens, you will see but the recent files. Tap on the iii-bar icon at the top to browse photos in other folders. Alternatively, view and open any other gallery app to upload photos right from the File Explorer.
Method two: Upload Direct From Other Apps
In this method, you don't need to open the Google Drive app every fourth dimension you desire to add photos. You tin can use the Share card from whatsoever app – exist information technology a File Manager, Gallery, or chat apps, to upload photos in whatsoever Google Drive binder.
Here are the steps:
Annotation: The following steps are performed on a Gallery app but can be used for other apps. Also, the Google Drive app needs to be installed on your phone for this method to work.
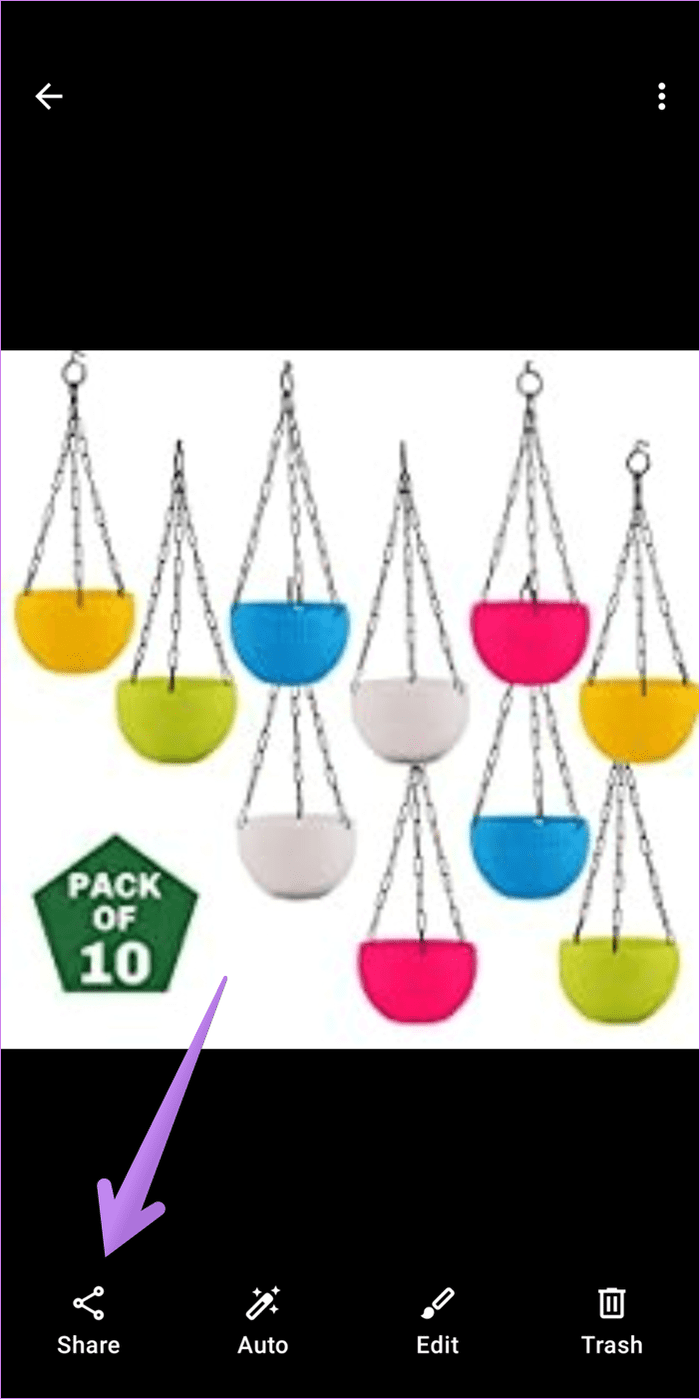
Stride 1: Launch the app from which you desire to add the photograph to Google Drive. Open the required photo or select multiple photos.
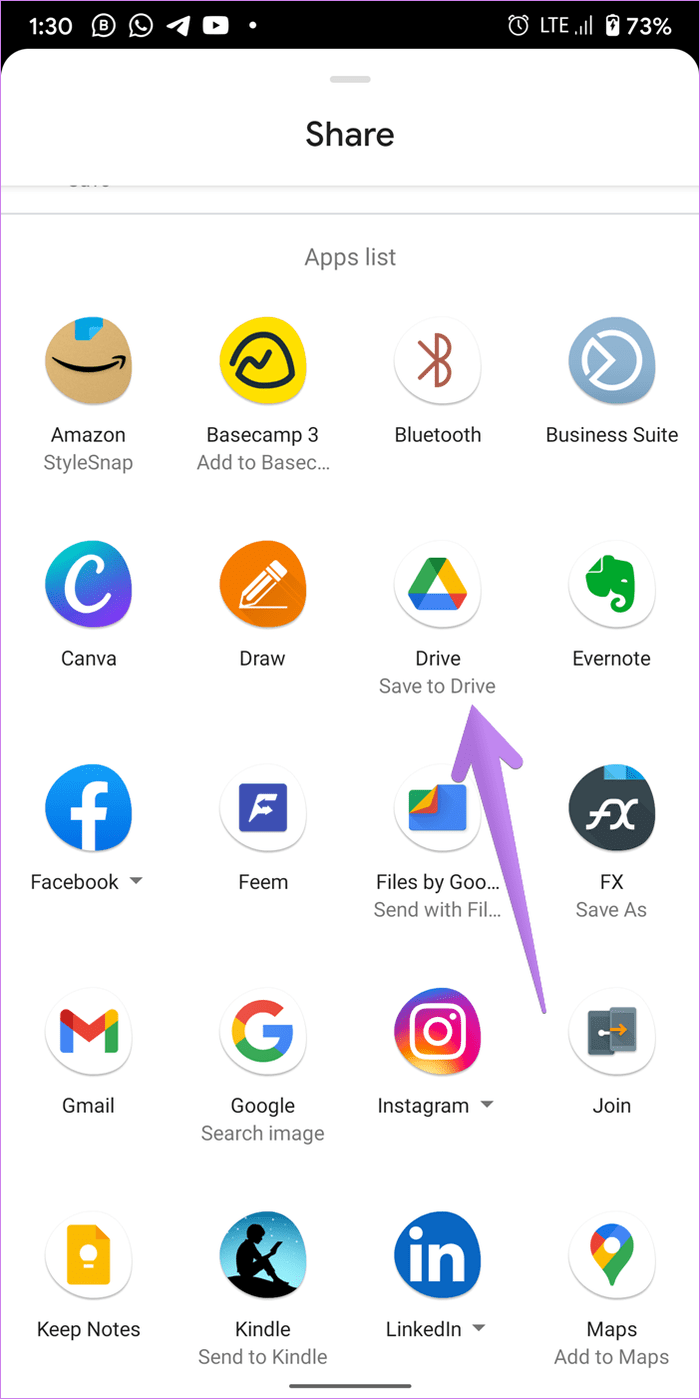
Step 2: Tap on the Share icon. Look for Drive (or Save to Drive icon) in the menu. Tap on information technology.
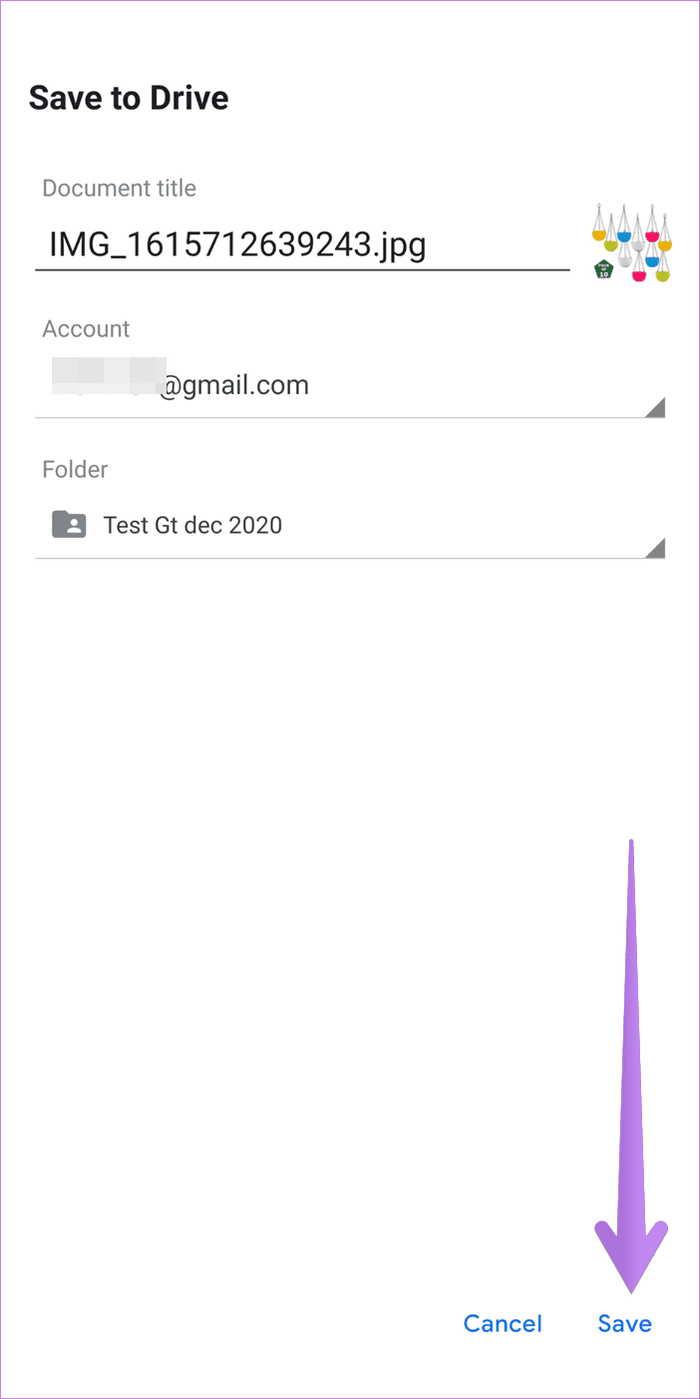
Footstep iii: The Relieve to Drive screen will open. Blazon the proper name of the photo or use the suggested name. Select the required account if multiple accounts are added. As well, select the Google Drive binder where you lot want to salve the photo. Tap on the options to cull a different business relationship or folder.

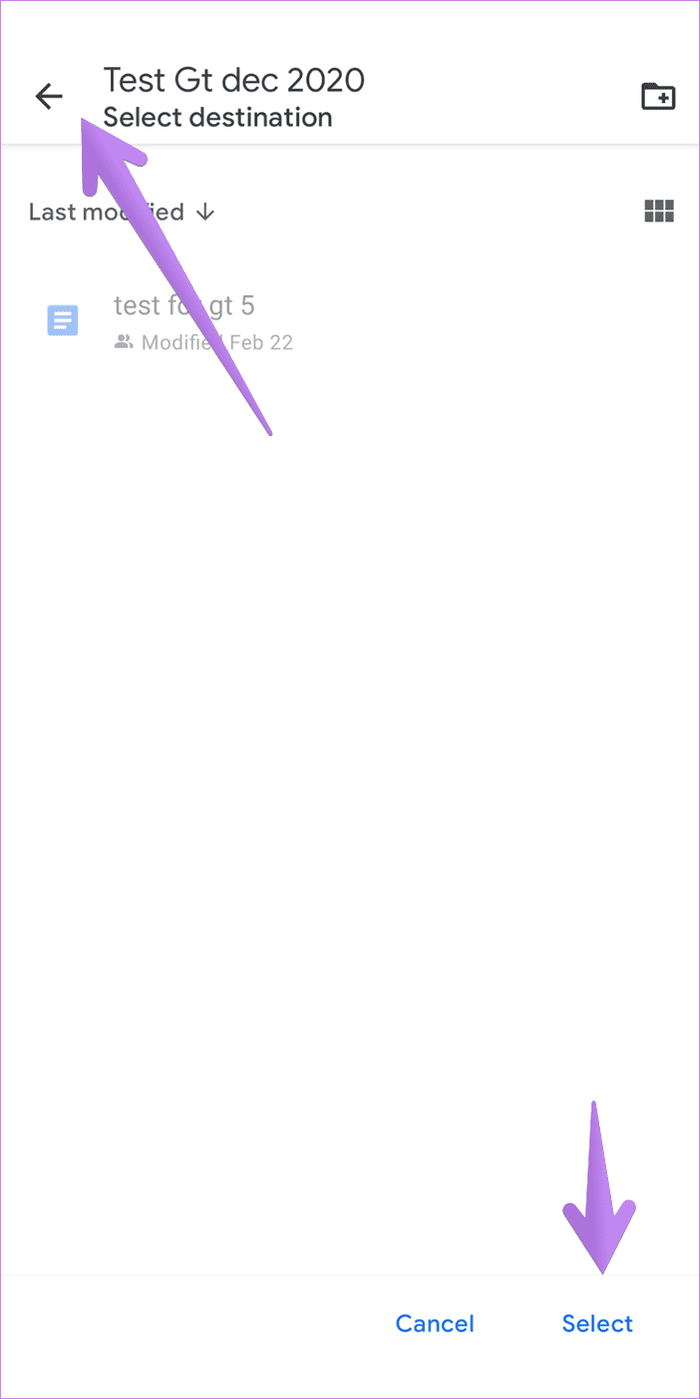
In the instance of folders, you will be taken to the Google Drive app. Use the dorsum push at the summit to navigate and select the required folder. Once you are in the desired folder, tap on Select at the lesser.
Tip: Create a new Google Drive folder using the folder icon at the peak.
Footstep four: You lot will reach the Salve to Bulldoze screen once again. Tap on Save.
Can You Delete Photos From Gallery After Calculation Them to Google Bulldoze
Many users wonder whether they can delete pictures from their telephone's Gallery app after uploading them to Google Drive. The answer is yes, provided you are using the above two methods. Once you lot have uploaded the photos to Drive, y'all can safely delete them from the Gallery app. The two aren't linked as it happens in Google Photos. You can yet view them in Google Drive. Even so, do not delete them from the Google Drive app.
Tip: Find out where you should save photos – Google Photos or Drive?
Method 3: Auto-Sync Photos and Add together Folders
The to a higher place ii methods are limited in functionality. Firstly, Google Drive doesn't offering a photo motorcar-sync feature. Secondly, you cannot upload folders to Drive using the mobile app. You will need to employ Bulldoze on the computer for the same purpose.
Fortunately, both these limitations can be defeated using third-party apps. We have covered how to auto-sync photos to Google Bulldoze and how to upload folders to Google Drive on Android.
Take Regular Backups
The to a higher place methods should have helped you in saving photos to Google Drive. In case you lot accept to upload a large number of photos, exercise not upload all of them at once. Often, due to network or other issues, y'all might face sync issues. We would propose dividing them into small groups and so upload each group separately.

Source: https://www.guidingtech.com/upload-photos-to-google-drive-from-android/
Posted by: pennyrappy1971.blogspot.com
0 Response to "How To Automatically Upload Photos To Google Drive"
Post a Comment